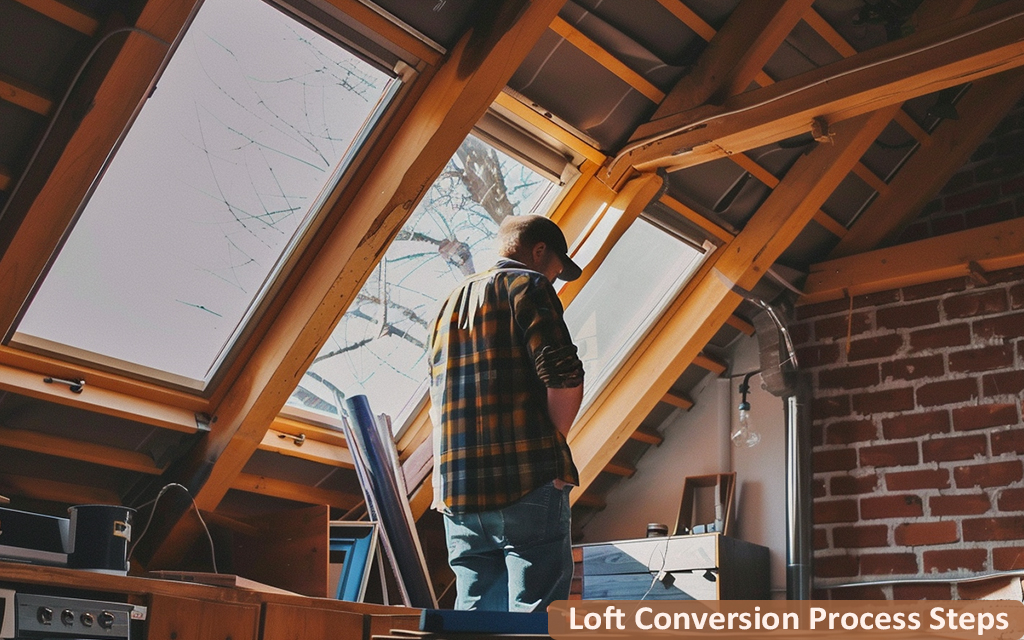
Loft Conversion Process Steps or Stages- Loft conversions are the perfect choice to rejuvenate a living space. They are stylish, functional and convenient for most of the properties. Let us read the various steps involved in a loft conversion design process.
Loft Conversion Process Steps Or Schedule Stages
1. Assessing Structural Integrity
The first important step in the loft conversion process is its feasibility inspection. Is your roof strong enough to carry another load? All the major aspects such as its stability, durability, height, floor space, width, access points and trusses etc. are examined. The professional loft conversion company can help you assess your loft attentively. However, if you are well qualified; you can it do yourself. If you don’t know if your roof is suitable for a loft conversion, always get help from an expert architect.
2. Project Consultation, Design Planning and Budget
After inspecting the roof by a surveyor, the required measures are performed by an architect. He will ensure the structure’s suitability before beginning the project. Depending on the loft’s nature, the design is decided. Clients share their requirements and personal preferences. An architect plans the ideal loft conversion keeping in mind both resilience and client needs. Communication is the key factor here to take the maximum benefits. All the design possibilities and budget considerations are discussed. The conclusion is made. Here, the loft experts give the total cost estimation to the client.
3. Complying Loft Design with Rules and Regulations
This is a crucial step. Many homeowners feel stressed about it. To start loft conversion installation service, the design should comply with local building regulations. Also, the planning permissions need to be taken into account. Your loft architect and the structural engineer will be accountable for granting all these permissions from the local council. Here, the building drawings, specifications, dimensions, height, size, windows, doors, the positions and direction of fittings, materials etc. are closely inspected. Whether your property come under permitted development? It is ensured to know if the building needs planning permission or not…!
4. The Preparation for a Loft Conversion
With building control approvals, the loft site is prepared. Meaning, that the unnecessary fittings are removed. Does your attic have an unused water tank or old heater? It is removed if no longer in use. Similarly, there might be n number of things that a loft conversion won’t be needing. Wiring and piping covering the site area are taken out. It surely means that some of the services connected with that wiring will be affected. Nevertheless, the designing team can find an alternative solution if the wiring service is paramount. This is a good opportunity to upgrade the wiring & piping system in the house.
5. Floor Joists Are Attached in the Loft
The second step after preparing the attic for a conversion is installing the floor joists. They are commonly made of timber and steel. These joists provide the support and strength to the floor. It entirely depends on the structure layout, shape, design and interior. The better the material, the better its ability to handle the load will be. Floor joists in a loft support the weight of furniture, fittings, footsteps and the entire room. The loft builders fit them parallel. If there is a door/ window opening then the joists are suspended appropriately.
6. Insulation and Floorboard Installation
Once the floor joists are placed, insulation is filled. The general insulation depth is 100mm. It ensures better comfort inside the loft. The reason why insulation is installed in a loft is to make it more energy efficient. It balances the temperature. A well-insulated loft conversion remains cool during summer and adequate hot in winter. Subsequently, the floorboards are installed to maintain their resistivity against moisture & water.
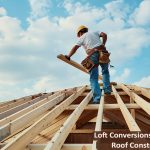
7. Rafters are Installed in the Loft
Just like floor joists support the floor weight, rafters support the roof. It elevates the structure’s integrity. This loft conversion fitting step is dominant for great longevity. Rafters in a loft conversion are wooden beams. They spread the loft weight evenly Fitted inside the attic, they support roof deck, shingles, and other components.
8. Installation of Rooflights, Staircase, and Tiles in the Loft
Now rooflights/ roof windows are installed depending on the loft conversion design and requirements. Some popular choices are Velux Windows, Roof Windows, Dormer and Windows. They are highly regarded to illuminate the room. Such windows bring a natural touch to the house. Additionally, the staircases are fitted. All this was decided during project design planning. Ensure that both roof windows and staircase design come under the building regulations. It is followed by roofing and cladding. The type of roofing & cladding varies project-wise. Their style is selected as per loft requirements, and client budget & style.
9. Thermal Barrier Fitting in Roofs
After all this, the roofs are insulated. A loft conversion fitting in the UK highly take care of insulations. It saves energy loss. Effective roof insulation reduces energy bills. It is typically placed at a minimum distance of 50 mm between the roof rafters. This gap is kept for ventilation. Over this sheet, more layers can be added.
10. Erection of Partition Walls, Wall Plates and First Fix
Partition walls are erected. The wall plates are fixed into the loft studs. This fitting provides the space for items like heaters, radiators and any other built-in connection. It is also an ideal loft conversion schedule step for doing the first fix. It may include electric connections, piping and plumbing fitting in the loft space. Notably, all the sockets, switches, wiring etc. are done at this step. All the fittings especially electrical must comply with the building regulations.
11. Adding Access Panels, Plasterboard and Architraves
At this stage, the loft conversion fitters add the access points. These are prominent for reaching the concealed spots. Access panel installation in a loft space is useful in reaching electrical, mechanical, HVAC, and plumbing connections. Such fittings are tightened with screws and are removable. They are used to control the specific connection. Plasterboards and Architraves are installed after that. It provides a smooth finish to the interior.
12. Bathroom Cladding and Extraction
This loft conversion stage handles the bathroom fittings and connections. The best loft conversion companies utilize the premium claddings. They ensure that all wall panels are fitted properly. The access points are inspected. Cladding is done as per the design plan. The bathroom needs an extractor fan too, so it is also done at this point. Wall and floor tiling is completed for a shower-room and the other loft.
13. Second Fix and Decoration in a Loft Conversion
This is the final loft conversion design step. Once all the cladding, tiling and first fix are installed, it is time for the second fix. The radiators are connected to their main source (central heating systems), plumbing fittings are fixed, and electronic gadgets are installed (if any). All these required and suitable second fixes are fitted. As soon as this work is done, the loft conversion is all set for the decoration. The interior designers and some loft architects suggest to their clients about it. Some homeowners implement their own ideas to make their beautiful loft conversion fitting more attractive.
So, this is all about loft conversion process or steps to follow.

 19 December 2025
 19 December 2025
 19 December 2025
 19 December 2025
 19 December 2025
mangat